Chainsaw Sharpening | Guide to the Best Chainsaw Sharpeners
Types of Chainsaw Chain
When it comes to Chainsaw Chain, there are lots of confusing variations. You can get different grinds, different tooth spacing and all of these can change depending on the saw you have and the bar that is on it.
Variations in Tooth Grind
The two most frequently found cutting teeth geometries are the Square Tooth Round Grind and the Square Tooth Square Grind. The Square tooth, Round Grind that is made by Oregon is called the X Grind. This is basically a modification of the tooth angle (25 instead of 30 degrees) and a down angle of 10 degrees instead of a 0 degree down angle.
Variations in Grind Angle
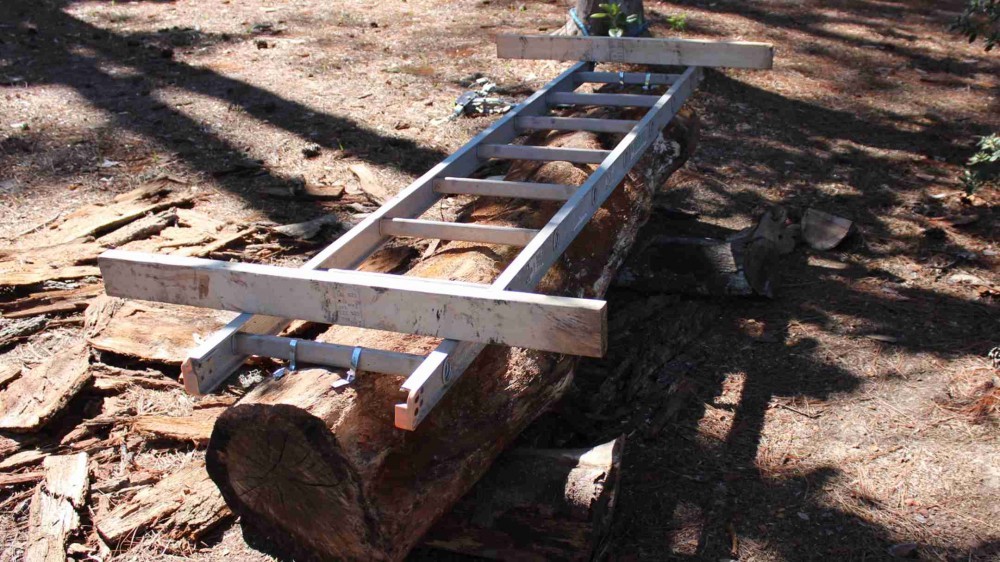
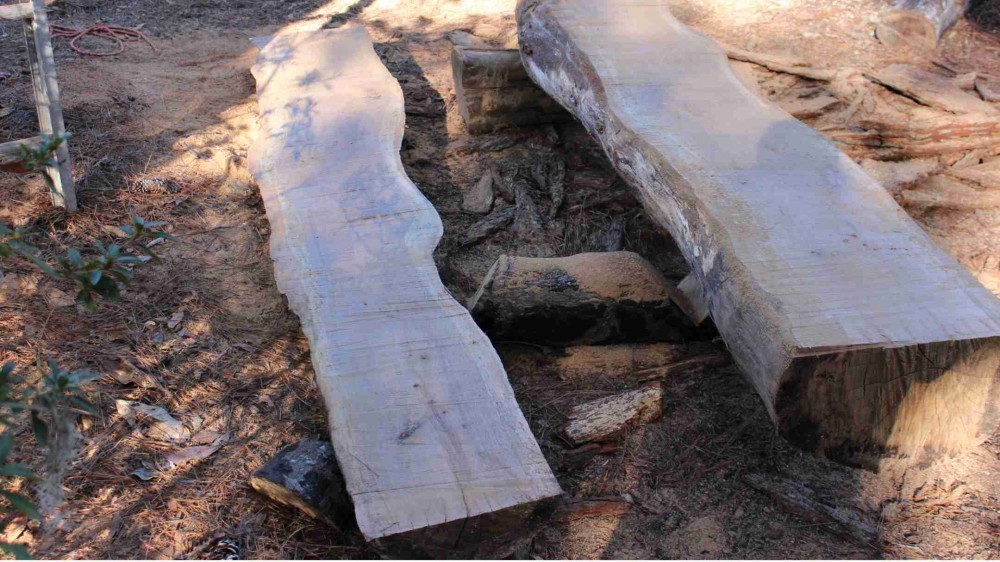
When sharpening the chains, depending on the particular chain you are working with, there are a variety of sharpening angles. Most Crosscut Chain is sharpened to 30 degrees. You can estimate this with a file, or if there are witness marks on the teeth, you can match your file angle to the witness mark. Not all chains have a witness mark. There are typically angles marked on the various jigs that are available to keep your filing angle more precise.  Rip Chain, as used for the slabbing process that I used with the homemade Alaskan Sawmill, is cut to 10 degrees from the factory. In general, a shallower angle will help to make the rip cut smoother. Some sawyers doing slabbing will cut a 0 degree angle on the saw chain. This will reduce the speed of the cut but the cut will be as smooth as possible with a chainsaw.
Variations in Chain Types
Often with Crosscut chains that are doing a lot of production work will want a bit more aggressive cut. Changing the spacing of the cutting teeth makes a chain cut more aggressively. There are 3 types of tooth layout, full complement (Standard), semi skip and skip chain layouts.  Full complement means that all of the pattern is full of teeth. Each section of the chain includes a cutting link. The full complement (or Standard Chain) will stay sharp the longest but will take more time to sharpen. Semi-skip has every other section with a full complement then a space and a single tooth before the full complement repeats. The pattern will be two teeth, a space, a single tooth, a space, then the pattern repeats. A Skip tooth chain has a missing cutter repeated after each cutting tooth. This will be the most aggressive and clear the sawdust most effectively but will increase vibration in the saw and has a greater danger of kickback. A Skip tooth chain will probably require more frequent sharpening but will take less time to sharpen as there are 1/2 the cutting teeth.
Sharpening a Chainsaw Chain
The majority of chainsaw chains will be sharpened with a round file. You can purchase a set of chainsaw sharpening files for just a few dollars. The most important thing to identify is what file size is required for the specific chain you are using. The majority of consumer saws will use a 3/8″ pitch and a .050 gauge. Each bar length will require a matching chain. In fact, each bar will set the gauge of the chain that needs to be used. The chain will need to match the length of the bar, the slot in the bar (the gauge) and the sprocket that drives the chain (pitch). The 3/8 pitch chain will use a 7/32″ chainsaw file or a grinding stone.
Crosscut Chain Sharpening
When sharpening a chain, the leading edge of the chisel tooth needs to be brought to a uniform edge. Many manufacturers tell you to just touch the edge of each cutting point the same number of times to create a uniform sharpen on all of the teeth. If this is a new chain or hasn’t hit a piece of metal in a tree, this should be sufficient. You may even be able to keep a uniform angle freehand. Most people will require help to keep a consistent sharpening angle. Stihl makes an adequate guide that will hold the file and provide a good reference angle. This is a step above freehand sharpening but it is a bit expensive for what is provided. My recommendation for the jig to use is the Oregon G-160B.
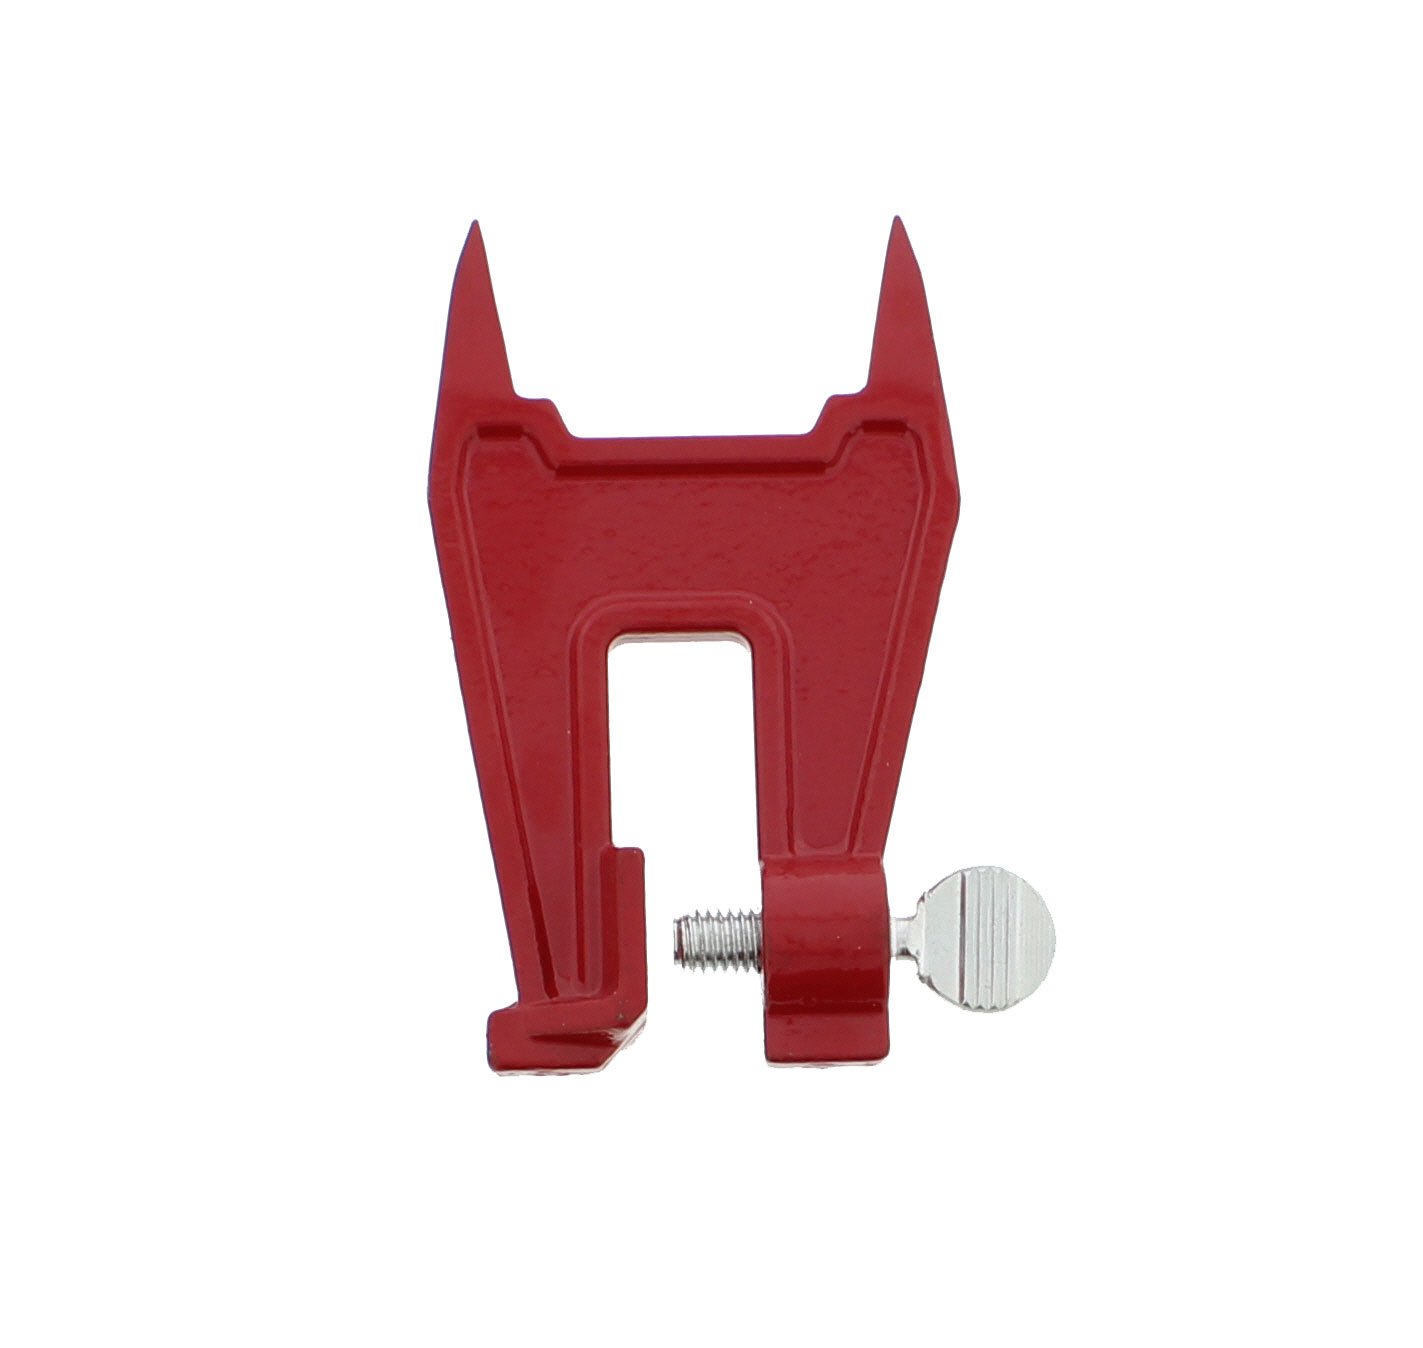
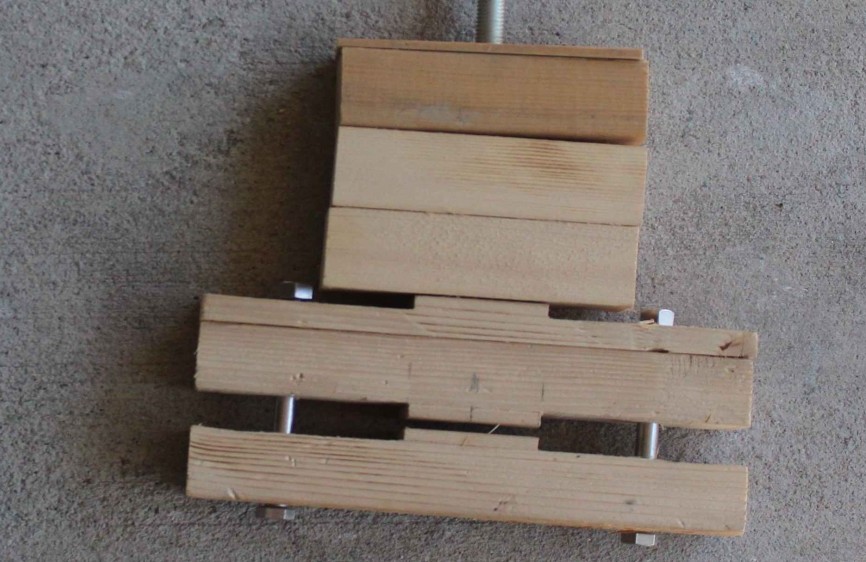
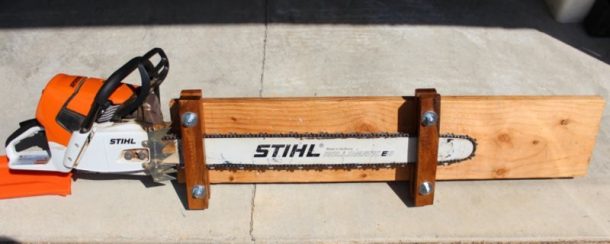
At any rate, to get organized to sharpen your Crosscut Chain on the saw you will need a way to support the saw while you work. There are a number of Stump Vises that are available to hold your saw while you work. If you are sharpening your saw in your garage or shop, the saw can be supported in a bench vise or even a makeshift vise made from wooden hardwood strips and tightened by a lag bolt. Once fastened, identify the shortest cutting point, this can be done with a set of calipers or a small adjustable wrench. This becomes the master link. Sharpen this cutter first. Once complete mark it with a felt tip marker so that you can find it again. All the remaining cutters need to be filed to this dimension. File all of the cutters in one direction, then change sides and do all of the cutters in the other direction. This will allow you to be more consistent. Now that all of the cutters are sharpened, the depth gauges need to be checked. As the cutter points are filed, the edge will move back along the cutter reducing the height of the cutter teeth. An adjustment of the depth gauges may be needed to compensate. The file sharpening packages come with a depth gauge. Place it over the depth gauges on the chain and feel the top to see if it extends beyond the top of the gauge. If it does, file it down with a flat file.
Rip Chain Sharpening
Chainsaw Files
Chainsaw files need to be sized according to the gauge of the chain. For 3/8 inch chain gauge, the file size is 7/32″
Chainsaw Sharpening Kits

A basic chainsaw sharpening kit is the Unidrift 8 piece chainsaw sharpener file kit. It has all of the basic tools you need to sharpen a chainsaw freehand. It has a guide that will show you most of the angles you might encounter and comes with files to handle most chain gauges. There is also a depth gauge for checking and fine-tuning the rakers(depth gauges).
Chainsaw Sharpening Jigs
In my opinion, a filing jig should be able to control your filing angle after it is set up, it should be able to adjust for 0,10, 25, 30 and 35 degrees and have a top angle adjustment. It should also be able to control a flat file for fine tuning the depth gauges on the chain. The Granberg Model G-160B chainsaw sharpener fills all of the parameters at a reasonable price and is my top recommendation.

There are lots of adjustments on this jig. The sharpening angle can be adjusted up to 35 degrees in either direction, the tilt and depth of cut can also be adjusted. There is a pawl that controls the registration of new teeth and an adjuster that will fine tune where the file sets. With a holder modification, you can use either the Granberg 12 VDC Grind-N-Joint or a Dremel tool with a grinder tool mounted in it. This will allow you to grind the cutters instead of filing them. The G-160B will allow you to make repeatable, accurate grinds.
Electric Chainsaw Sharpeners
12 Volt DC
Granberg Grind-N-Joint 12 Volt Hand Held Chain Grinder – A small 12 volt handheld grinder with a pressed plate that mounts to the grinder to provide reference angles. This unit can be paired with the Model G160B to provide accurate repeatable grind angles.
120Volt AC
Dremel 1453 – Accessory Kit For chain sharpening This accessory for your Dremel Rotary Tool comes with a mounting plate with guide angles and is meant to be handheld to sharpen the cutters on your Chainsaw Chain. This also can be mounted on the Model G160B to upgrade the repeatability of your chainsaw sharpening. Oregon 410-120 Bench or Wall Mounted Saw Chain Grinder– If you have a shop to work in and a place to mount this grinder, this is a definite upgrade to the handheld or bar mounted sharpening tools.
To use this grinder, the chain is removed from the saw. It fits into a holder on the benchtop and then registers the chain for grinding. The grinder wheel is then lowered to sharpen the cutting edge of the chain. It is fast and accurate. A bit more expensive than the jigs but if you sharpen lots of chain, this is the way to go.
I buggered up the crosscut chain on my Alaskan Sawmill when the bolts backed off on the second cut on the Oak log. This chain was toast until I visited a friend that had an Oregon 410-120 grinder in his shop. 20 minutes after I walked in, I walked out with a nicely sharpened chain. If you do a high volume of chains or want to set up your own chainsaw sharpening service, you may want to upgrade to the Oregon 520-120. This Chainsaw Chain Grinder has an upgraded holding vise and a .4 HP motor. This will sharpen a serious amount of chain in an efficient manner.
I’ve given you a few options for sharpening your chainsaw chains. I have a friend with an Oregon 410-120 so I’m set for sharpening when he’s available. I also have a Dremel tool that I use for trimming my Lab’s nails.
I’ve ordered a Granberg G-160B and will spend a bit of time building a holder for the Dremel tool when it comes. I’ll post a plan for the holder and see what I can do about creating a YouTube video to show how it works once I give it a test run. In the meantime, I have files that will fit into the Granberg jig when it comes. That should give me an opportunity to test how it works and do a review on it when it arrives. Feel free to leave a comment about your solutions to chainsaw sharpening. I’d love to hear from you about your own sharpening experiences.

