
My first table is complete. It holds up my Radial Arm Saw. Now it is time for building my Woodworking work tables. Originally, I had decided that my first work table would be an actual Workbench. I have decided to defer this to a later time. If in the future, I decide it is a necessary addition then I will build it at that time. For now, I’m going to focus on temporary tables and supports that are versatile and help me to determine the best flow through the shop. I have limited space and am still working out the best way to use it to its full potential.
Types of Woodworking Work Tables
There are an amazing number of tables that can be useful in a woodshop. You can have infeed tables and outfeed tables, you can have tables that roll around your shop or you can have a fixed workbench. You can create assembly tables even have temporary tables that you can set up for a specific use.
Workbench
As I mentioned above, I probably won’t build a workbench right away. However, I have done quite a bit of research into the various options that are available. Ultimately, a workbench is a fixture that will allow you to hold your work for various processes. It needs a way to hold your work down and needs to be heavy to give a solid surface for you to work on without moving. It helps greatly if the top surface is flat and level to provide a reference surface for measuring and assembly.
The Roubo Workbench
Currently, the most popular bench style that I’ve come across is the Roubo bench. Also called the French Bench this design has descended from French craftsman. It’s characterized by a massive top typically of laminated wood, 4 by 4 trestle legs hold everything in place and a front vise and an end vise installed. Often there’s also a sliding deadman on the front. Dog holes extend across the front of the top to aid in work holding.
The Nicholson Workbench
The Nicholson Workbench has the same support structure as the Roubo Workbench but the top is a plank top. Two-inch thick planks replace the laminated top of the Roubo. This lightens the bench but also requires that the underside of the top be supported by cross braces. The front and sometimes the back are additional planks with angled dog holes. These come in handy for supporting long planks with either dogs or holdfasts.
The Nicholson bench is designed to be used with holdfasts so if you aren’t familiar with this type of holding process it can be a bit hard to understand how to hold your work. Mike Siemsen has done some great videos that explain how to use holdfasts with your bench.
Mike uses a viceless bench just to demonstrate that it can be done with holdfasts and some easy shop made jigs.
The Moravian Workbench
The Moravian Workbench is designed to break down and be relatively portable. The top is typically a slab but may be laminated. The legs are splayed to provide stability and are connected with a tusk tennon that is removable.
The entire bench can be broken down in about 2 minutes and moved to a worksite or another work area.
Will Meyers from Wood and Shop demonstrates assembling the bench in this video.
You can download plans from Wood and Shop if you want to build this bench. https://woodandshop.com/moravianworkbench/
This will probably be the design that I use for my bench. I wil add a split top and build it without a tool tray. A Front Vice and a Wagon Vice will make workholding easy for both hand tools and power tools.
Infeed Table
For my shop, I needed to have a table next to the Radial Arm saw that can support the ends of long boards. This is commonly referred to as an infeed table.
I had a space 6 feet long next to the Radial Arm Saw. There is an electrical box in the corner but I didn’t want to obstruct it with the table. It does provide an additional two feet of space before I hit the wall so I can put an 8-foot board on the infeed table with only a short length of board hanging over the end.
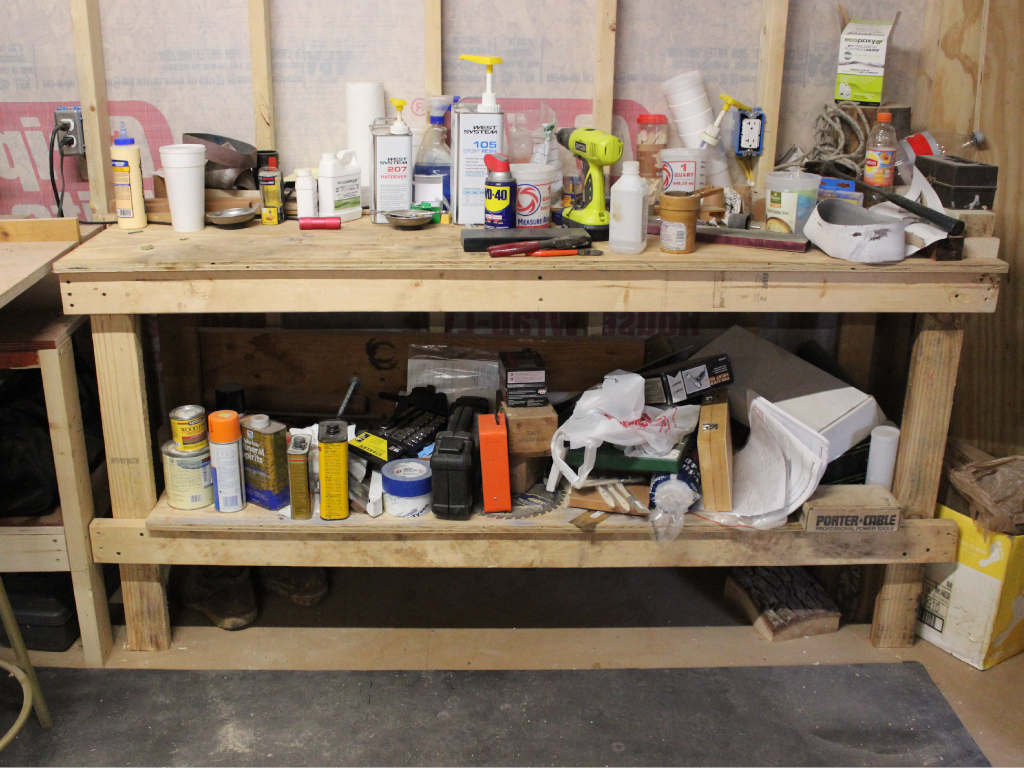
As you can see this table has become my general work table. The top gets cleared off when it needs to perform its infeed duties.
I didn’t spend a lot of time building this table, I just banged it together with a three-quarter-inch piece of plywood on top and two by fours screwed together below the top. I added a shelf about 10 inches off the floor (So I can lift the table up with my lift cart in the event that I need to reorganize) The overall height (35 inches)was determined by the radial arm saw table so that things can move off of the infeed table and onto the radial arm without changing the height.
Outfeed Table
With the radial arm saw infeed table complete,I needed to put together my table saw. I unboxed the table saw and assembled it then I realized that I needed to support longboards coming off of both saws. A portable outfeed table was a perfect choice. I designed a roll-around cart that would work at the radial arm saw as well as the table saw.
Since I designed the Radial Arm saw table to be exactly the same height as the Table Saw top, I was able to use a single cart for both machines. In a small shop, it pays off when you have one piece of equipment that will do double duty.
I wanted this cart to be a little bit more robust as I’ll be moving it around the shop I want to make sure that it doesn’t rack and fall apart. I did use two by fours to build the cart and chose 2ft by 4ft for the tabletop. I’ll probably be using this or multiple operations so I fastened the wide edge of the two-by-four to the bottom of the plywood this gives me a two and a quarter-inch thick tabletop and still allows me to use my shorter clamps when I clamp things to the top.
I created two flat frames to hold the tabletop and the lower shelf using half- lap joints in the corners. For the uprights, I also created a 1/2 lap that overlaps the other half-lap joint for the top. I considered adding braces to the corners but so far that hasn’t been necessary. On the bottom, I added 4 casters two of these pivot and lock and the other two are fixed. This allows me to maneuver the table into any position I want and then lock it down to hold it in place. I will probably add fixed feet in the future and have casters that pivot up and lock to move the table.
Saw Horses
It never hurts to have saw horses sitting around in the shop. When I was working in the carport, I created two nice strong fixed saw horses. This pair of saw horses were designed around a 2 x 6 top. I laid out a compound miter that was 10 degrees in two directions. This allows the legs to splay out to the sides and to the ends and creates a very stable sawhorse. It also allows an overhang at the end of the top board to provide me with a clamping surface. I made the sawhorses 42 in long and 32 in tall. I screwed an apron made from pallet scraps about 18 inches from the top to keep the legs in position.
These saw horses work very nicely to support a 4 x 8 sheet of plywood and create a temporary assembly table. While I was still in the carport this became my work surface. When I was wiring the shop it became a very nice scaffold to work from and allowed me to get just high enough to reach the joists.
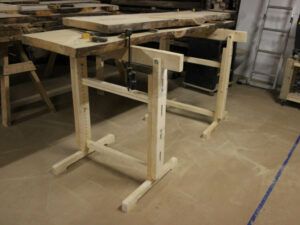 Ultimately I found that I need a second pair of saw horses. I sat down and designed a pair of adjustable sawhorses. Even though I tried my darndest to make sure that all of the tables were at the same height, it turns out that some adjustability in temporary situations would come in handy. I designed these in a trestle style. They will adjust from 30 in tall to about 50 in. I can also replace the top 2 x 4 with a roller to help with infeed and outfeed tasks. I’ll do another post on the construction of these in the near future.
Roller Stand/ Roller Conveyor
The last piece of material handling equipment that I needed was a roller stand. I needed something I could feed material from the table saw and ultimately from the router table once it’s built. I waffled around a bit while trying to decide if I actually needed this or if I could build something that would fulfill the same purpose. I finally decided that I would purchase a telescoping roller conveyor.
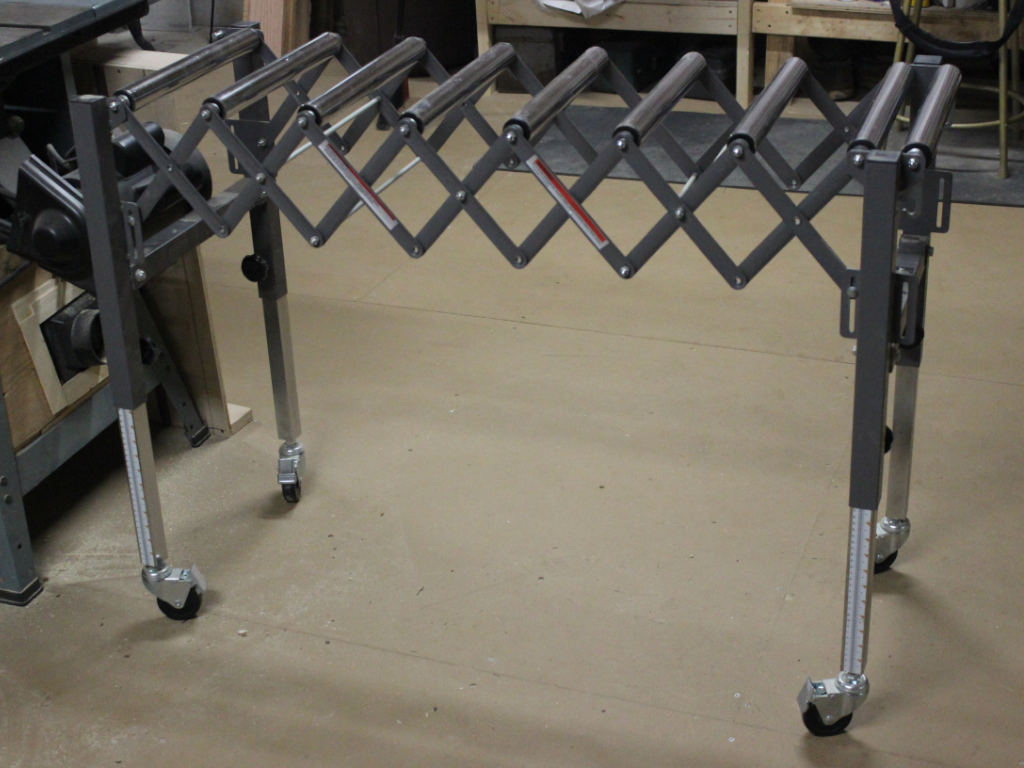 The roller stand that I settled for is a SUPERMAX TOOLS expandable roller conveyor. While this roller conveyor only expands to 50 in. The support it offers for long stock is well worth the purchase price.
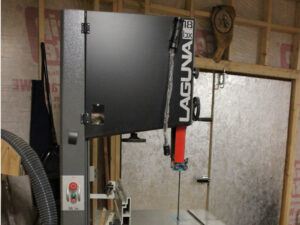 As an in-feed/ out-feed to my Laguna bandsaw, I found that the roller stand was not tall enough to meet the need. I wanted to be able to process long boards on the bandsaw but it needed to be 38 in tall to reach the table, the maximum height adjustability was 36 in so I needed to add some additional length to the lower tubes. I cut some Cherry stock to fit into the top of the tubes and added 6 in. to the height adjustment.
With all of these shop tables and material handling devices in place, I should be able to handle some large scale projects. I’m looking forward to getting started with some smaller projects once I have completed putting together the adjustable saw horses. It seems that I have a few board feet laying around (Cherry, Poplar, Live Oak, and Yellow Pine) and need to start reducing the pile with some projects.
First, I’m going to put together a Router Table so that I can do the joinery for the Adjustable Saw Horses.
Click the links below to view the tools and equipment outlined in this post: