With power on to my shop, I’m finally to a point where I can start pulling my tools out of storage. The first tool that I’ll need is my radial arm saw. When I left Western New York, I boxed all my tools in plywood crates put them in a U-Haul trailer and dragged them down here to Tennessee. Once I had them here, they went directly into a storage unit where they have been sitting ,gathering dust.
Retrieving my Radial arm Saw
In the storage uniit I have a pile of wooden crates. Inside the bottom one is my Lathe, the next on the stack is my Table saw and finally at the top is the Radial Arm Saw. The Table saw is the beast. It probably has 150 lbs of stuff including the Bessemer Fence and of course the cast iron tables and steel wings for the saw itself. This crate is HEAVY.
The radial arm saw was fairly light compared to some of the other tools in the storage unit, so I pulled it off the stack, I rolled it to the front of the Table Saw crate with a broom handle that was sitting in one corner and when I could reach the majority of the crate, I tiped it down to the transfer cart. My steel toed boots came in handy as the cart shifted and I dropped the corner of the crate on my foot. I should probably have enlisted help.
I rolled it out the door of the storage unit and onto the back of my truck. The storage unit has nice ramps so I didn’t have to lift the crate onto the truck just backed it up and rolled the crate on. I have a lift cart in the shop already, so getting off of the truck was fairly easy, much easier than getting it off the cart and into the truck. I removed all of the screws that I used to hold the crate together then set the plywood off to the side for use in tabletops and other things. I’m a big proponent of reuse and recyle so the plywood will come in handy for shop carts and tool bases.
At this point, I decided to pull the lathe and table saw out of storage as well. They needed to be moved and I just happen to have a friendly helper to get them onto the truck. Thes two crates were large and heavy so we made two trips. The table saw was heavy enough that we didn’t want to pick it up a second time. I opened the crate right in the truck and unloaded the pieces. Much easier on the back.
Unboxing my Craftsman Radial Arm Saw
Unboxing the radial arm saw was pretty easy. It was just a matter of removing about 60 screws. I was pleased with how it had travelled, it was precisely where I had expected it to be inside the crate. Nothing appeared to have shifted and no damage had occurred. When I put it in the Crate, I removed the table and screwed the base down to the bottom of the crate. I made sure that the carriage was tightened down and then I secured that in place with a piece of wood screwed to the sides of the crate.
I had one small problem though, the table for my radial arm saw did not come with me. In New York I had a plywood frame with a lower shelf. The front had to two-by-fours going all the way to the ground and the back had a pair of wheels. it was easy to pick up the front of the radial arm saw and roll it to where I needed it and then set it back down. I opted for a fixed-base this time. I’ll be building a table next to the radial arm saw so a fixed position will work very nicely.
A Table for the Radial Arm Saw
I decided that I wanted the top of all my tools in my tables to be at the same height. I chose 35 in to be the height that I use throughout the shop. I recall that the table saw was already 35 in tall so if I had to use the radial arm saw table to support the end of a long work piece I could do so. I had a bunch of two-by-fours that were left over from building the shop so I found the straightest ones possible and opted to use the plywood from the crates as table tops. The lift table when fully retracted is 9 1/2 inches off the floor so I chose to make the lower shelf slightly above that height so I could slide the lift cart in and move things as I needed.
To build the base for the radial arm saw I just cut for two by fours three quarters of an inch short of where I needed them and then screwed the top on and reinforced it with cross members made from the same two by fours. I repeated the process for the lower shelf and dropped a piece of scrap plywood on the lower two by fours.
Install and Set Up The Radial Arm Saw
To install the radial arm saw, I drove mounting holes for lag bolts and screwed it down to the table. I had to add some shims to make sure that everything was level. I took another piece of three-quarter inch plywood and cut it to create a working surface for the top of the saw table. It’s important when you’re installing the saw table to make sure that the back of the top lines up with the zero mark on the arm of the radial arm saw. The mounting holes that hold the top to the radial arm saw base or slotted so as long as you get it close you can adjust as needed. When that top was installed I added another quarter inch piece of Luan plywood to the top as a sacrificial table top. It’s attached with tiny Brad’s on the corners so that it doesn’t warp but the table top stays in place. I can remove and change out the sacrificial top easily when it gets too cut up to use.
Set up the Radial Arm Saw
Finally, I needed to adjust the radial arm saw and make sure that it was square to the fence.
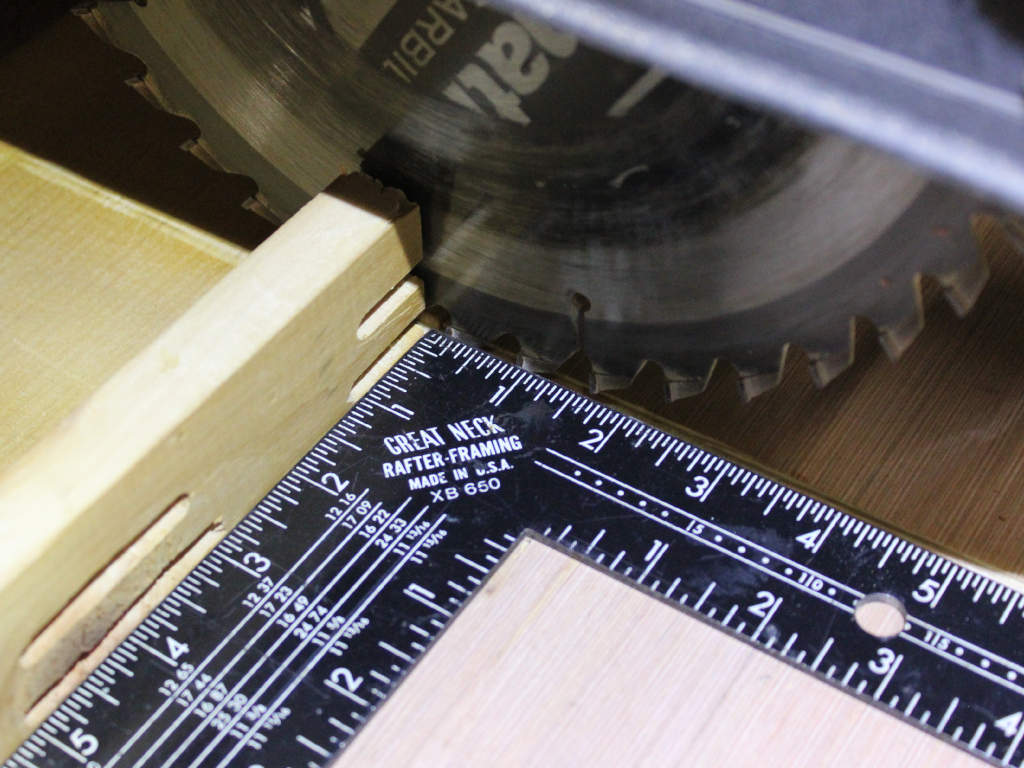
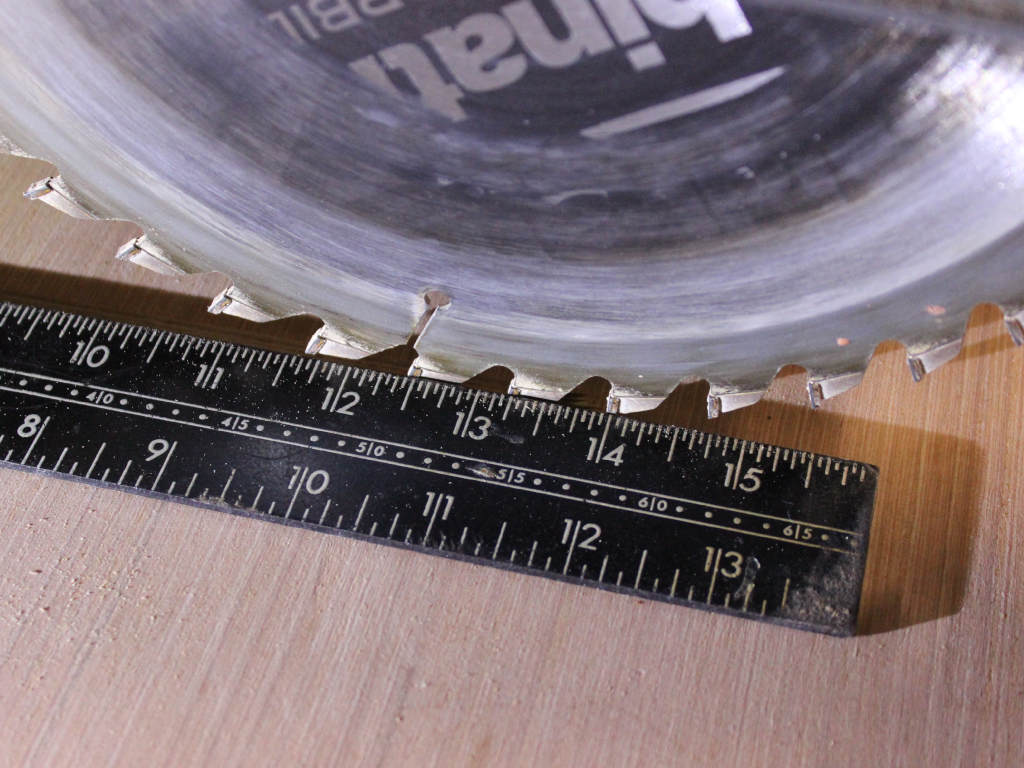
The first focus was to square the blade to the table. This is pretty simple, There are 4 Allen bolts on the front of the handle. Loosen these and the tilt of the saw blade can be adjusted. I used a square against the table and between the teeth of the saw blade and squared the tilt. Holding this in position, I tightened the Allen Bolts. You need to make sure that the square is up against the flat of the blade and isn’t registering on the teeth of the blade. Tilting the square will enable it to fit between the gullets of the saw blade and give an accurate reading.
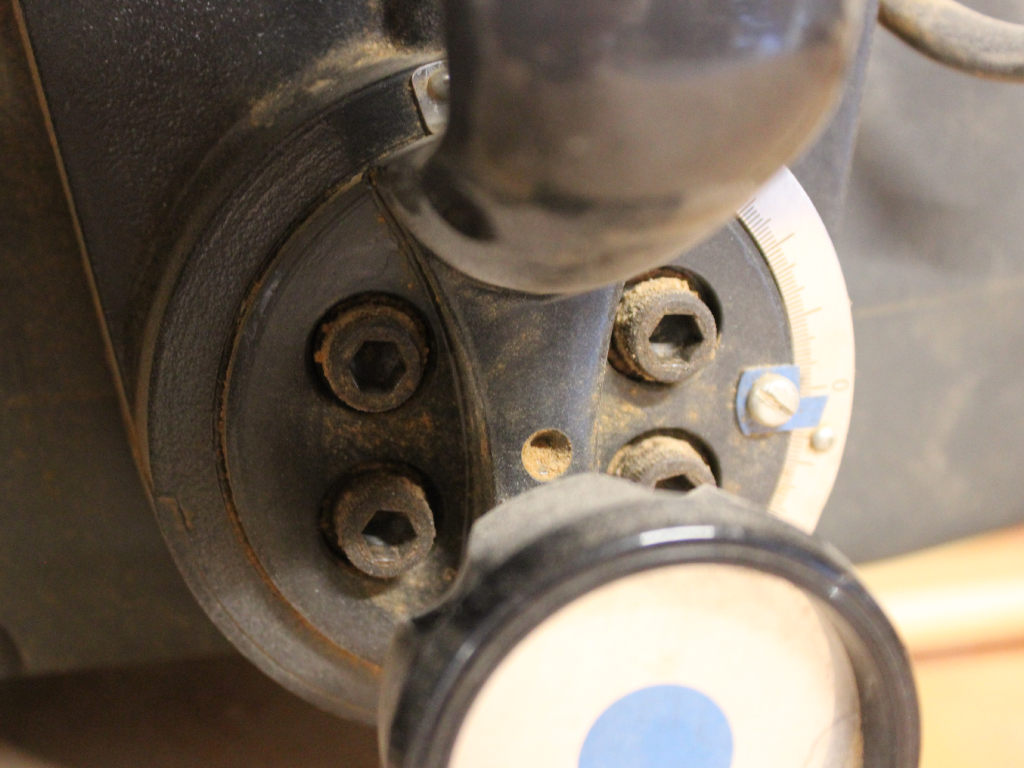
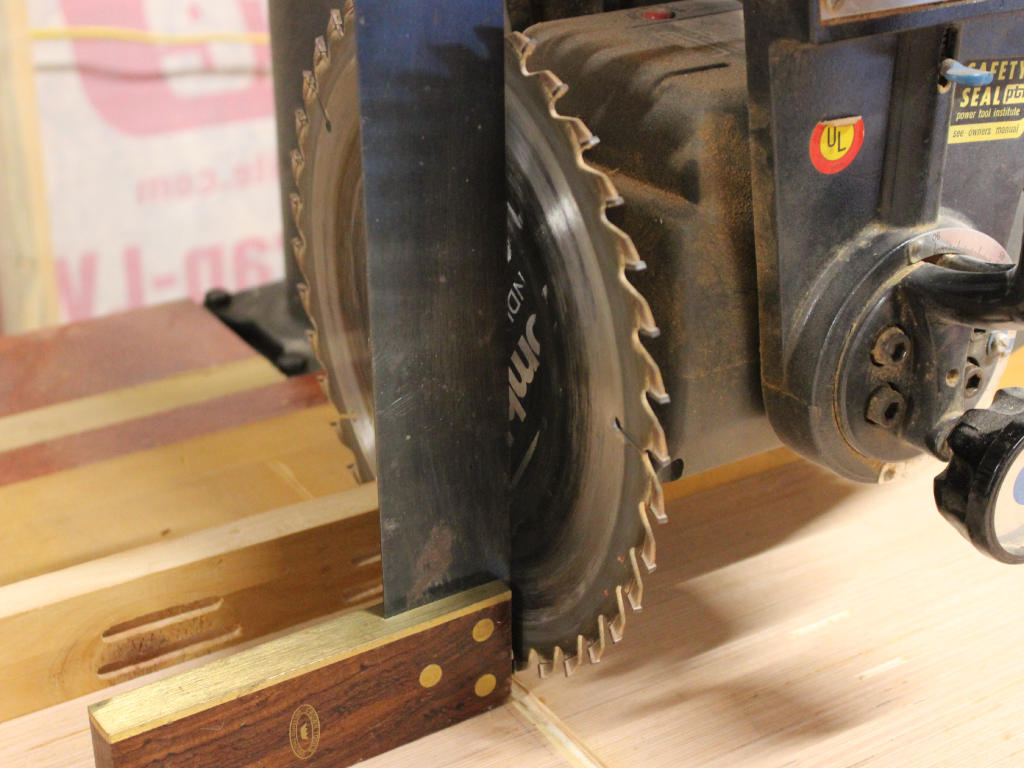
Next the Arm of the radial arm saw needs to be square to the fence.
The adjustment of the arm is done from the pillar in the back. there are two Bolts at the top of the column that hold the arm to the pillar. Loosening thes will allow som back and forth adjustment. Loosen the bolts and then lay a carpenter square against the fence. adjust the arm so that the blade of the saw just touches the square at the fully back position and at the fully forward position. Retighten the bolts and check to make sure the adjustment is still accurate.
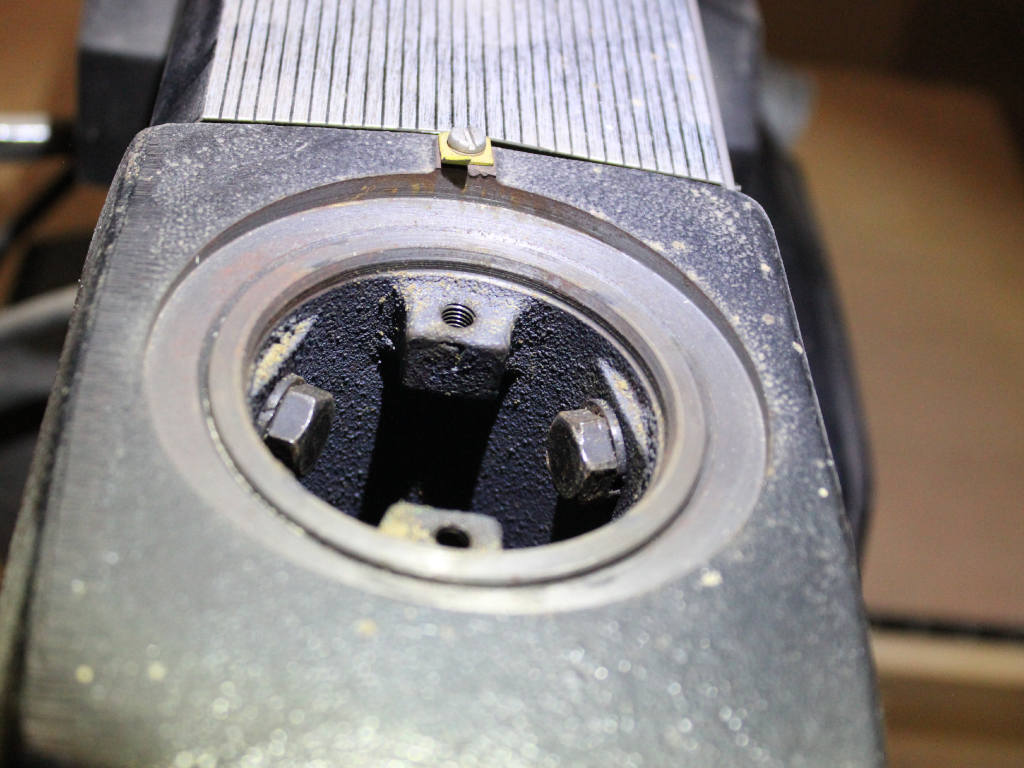
Finally, there is a wedge on the back of the saw pillar that controls how much back and forth play is in the arm. There are two set screws on either side of the wedge and another on the back to adjust in and out. loosen the two side screws and then adjust the wedge in until it bottoms out then back it off 1/2 turn. This sets how difficult it is to adjust the angle of the arm. Tighten the side screws until the play has been removed. These screws oppose each other so loosen one side and tighten the other until you have the play removed.
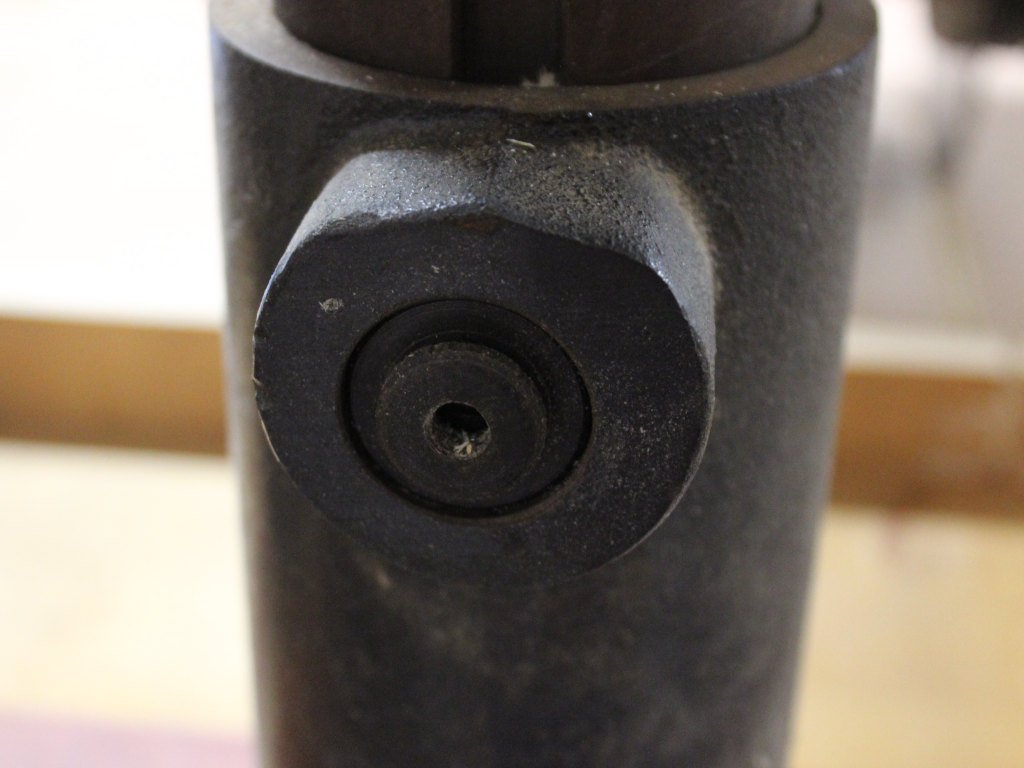
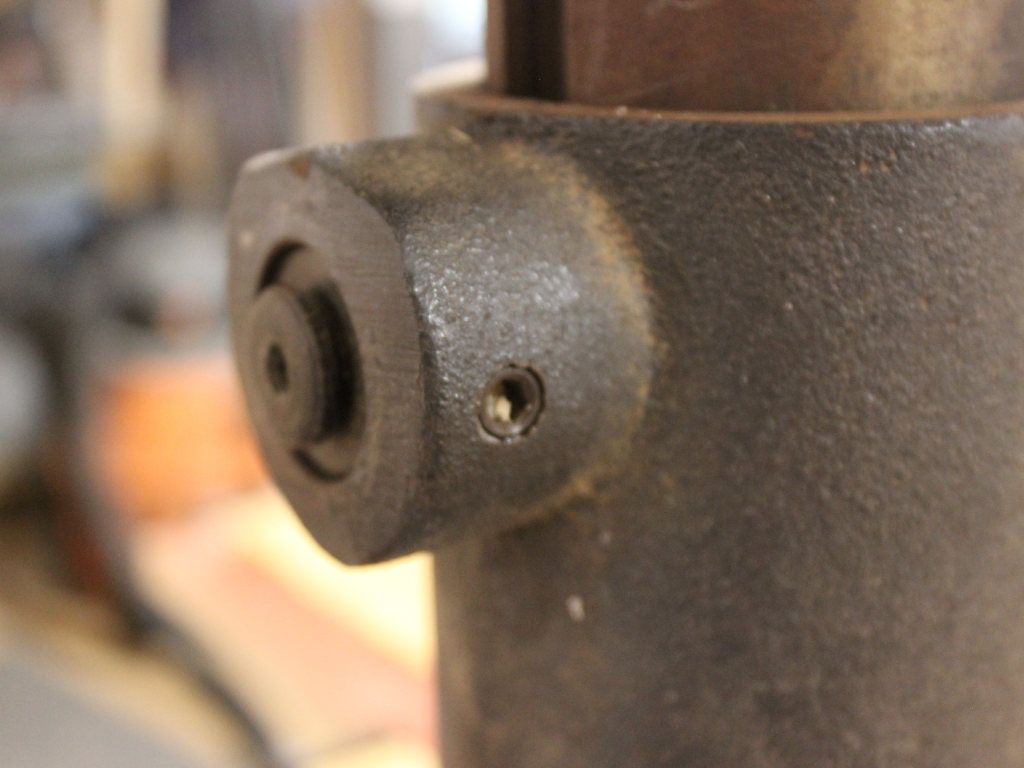
I spent some time making sure that all of the adjustments for the radial arm saw were square and true. Given the age of this radial arm saw there’s still a bit of play in the main pillar but it works very nicely for rough cutting.
Next up I needed to create an infeed table. This will double as a general workspace with a little bit of storage underneath.
